For millions of years, ALL over the world, in one form or another, bread has symbolized life-giving sustenance…until now.
All around us, people report intestinal issues and other problems due to gluten intolerance from wheat, barley and rye found in breads, pasta, and pastries.
Even though only about 1% of the US population suffers from celiac disease, this represents a four-fold increase in the past half-century. And over the same period of time, gluten intolerance has increased a shocking 19-fold!
Some of the possible reasons for this radical rise in gluten intolerance include:
♦The use of sulfur and nitrogen fertilizers that may change the proteins in wheat
♦ The super-hybridization and chemical and radiological mutation of wheat
♦The way we bake bread
This last reason for the rising intolerance to gluten grabs my attention, because you and I can do something about it today.
Until the 1940s, nearly all breads were made using a process called lacto-fermentation, more commonly known as sour-dough.
Then, as we began looking for ways to make everything faster and cheaper, speedy bread-making processes using yeast replaced the more lengthy process of lacto-fermentation. Unwittingly, we sacrificed our health for convenience.
In a recent study, researchers made two batches of bread from the same wheat: one using lacto- fermentation and the other with yeast. After baking, the yeast bread measured gluten levels of 75,000 parts per million (ppm), while the sourdough bread had gluten levels of only 12 ppm!
Anything under 20ppm is considered gluten-free. The difference is astounding!
Make a Sour-Dough Starter
Baking your own bread via the lacto-fermentation process is easy and requires less kneading than conventional yeast breads. To begin, you must create a sour-dough starter:
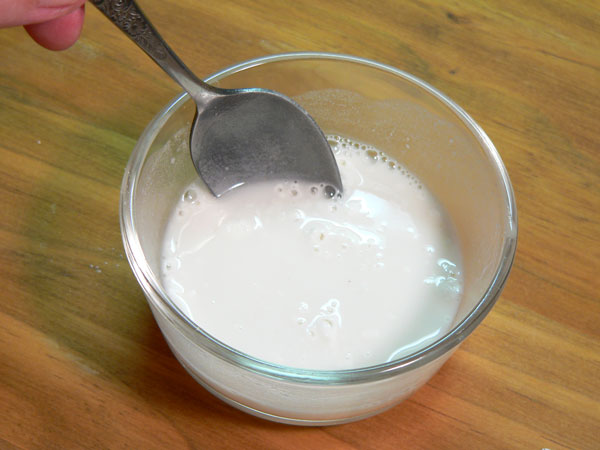
1. The starter consists of equal parts of flour and water (4 oz. weight of each). Place these ingredients in a large glass or ceramic bowl or jar, mix thoroughly with a whisk and cover loosely with plastic wrap.
2. Set this container somewhere at room temperature in a non-drafty location.
3. Almost like caring for a pet, you must “feed” your starter each day. For the first five days after putting your starter together, stir in another 4 oz. (weight) each of water and flour with a whisk. Cover the starter as before and leave at room temperature.
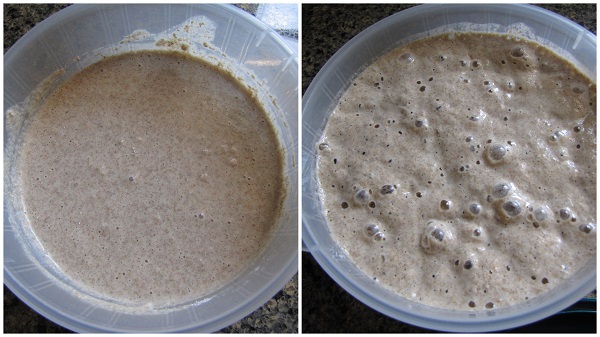
4. Follow this procedure feeding your starter each day for five days. Your starter should begin to ferment, noticeable by a slightly sour smell and foam forming on top. Natural bacteria in the air are doing their work and literally feast on the gluten.
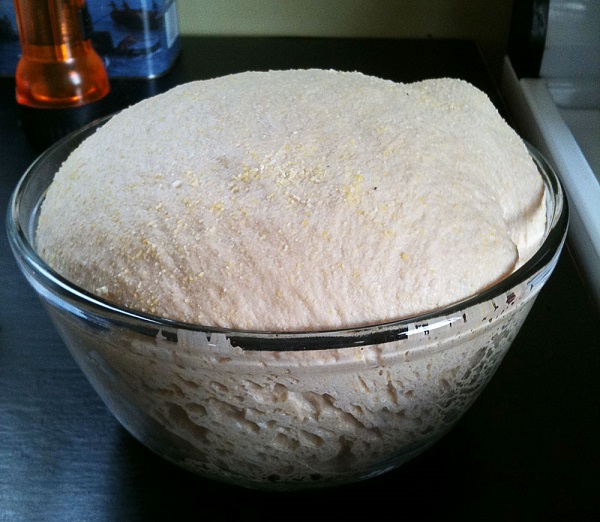
5. On day six, feed your starter again with 4 oz. each of water and flour and mix in with a whisk. Then, follow your favorite sour-dough recipe for bread, pancakes, waffles, or English muffins, using the amount of starter each recipe calls for.
6. After you use some of the starter for your recipe, discard all but 4 oz. of the remaining starter and feed it again right away. From now on, as long as you keep feeding your starter, it’s ready for use.
The only reason you discard extra sour-dough starter is because it will continue to multiply beyond the amount you can use.
Since lacto-fermented bread using store-bought wheat classifies as “gluten-free” many people who are gluten intolerant are able to tolerate real sour-dough bread just fine.
Now consider using organic, ancient farro wheat like: einkorn, emmer or spelt that have less gluten to begin with and no pesticides or super-hybridization!
Lacto-fermented bread is a wonderful way to enjoy real bread again!
And I almost forgot the best part . .once you taste homemade, lacto-fermented bread you’ll never be satisfied with anything less!
Yours in Health,
Danette
P.S. Please share this with your friends and I always enjoy reading your comments below.